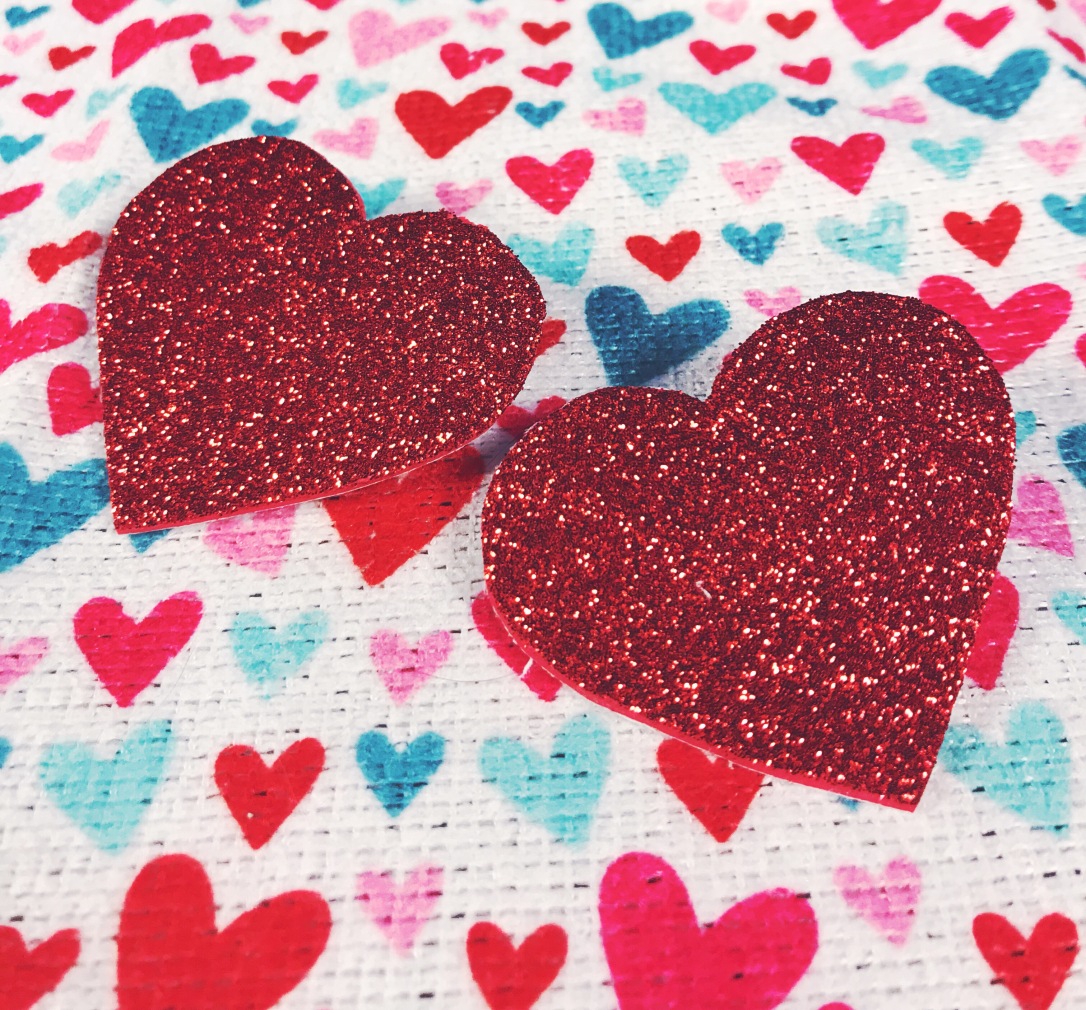
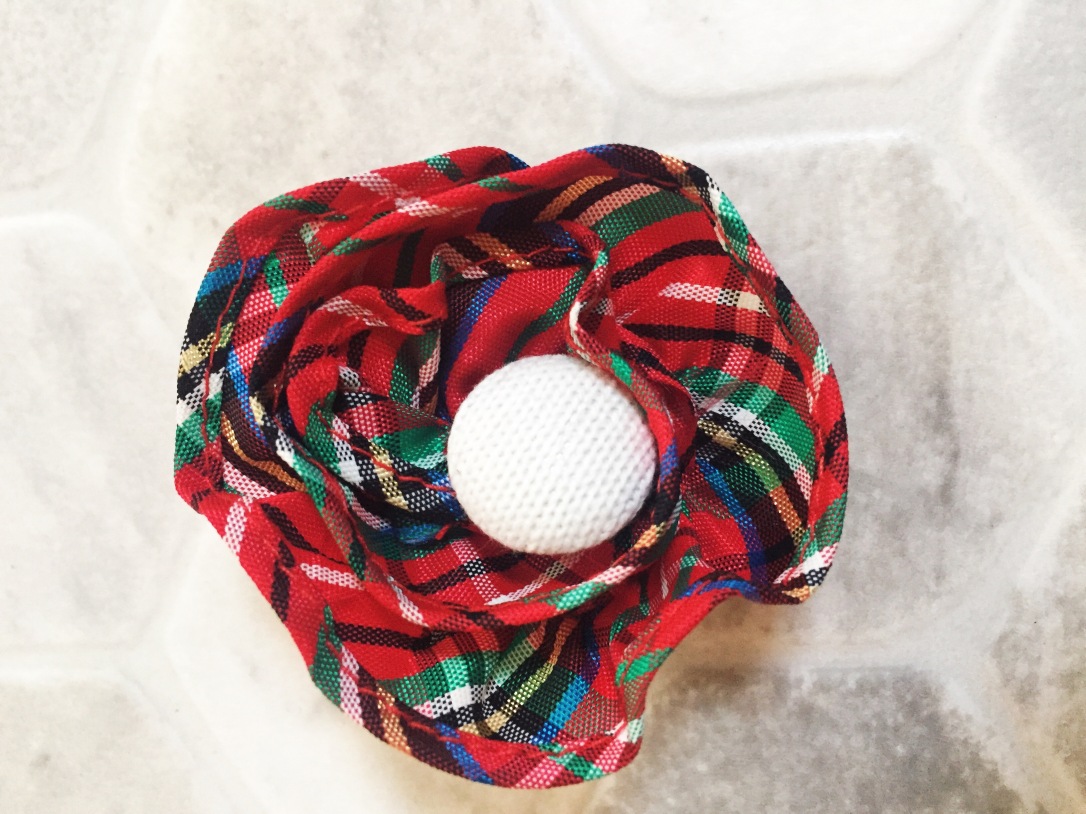
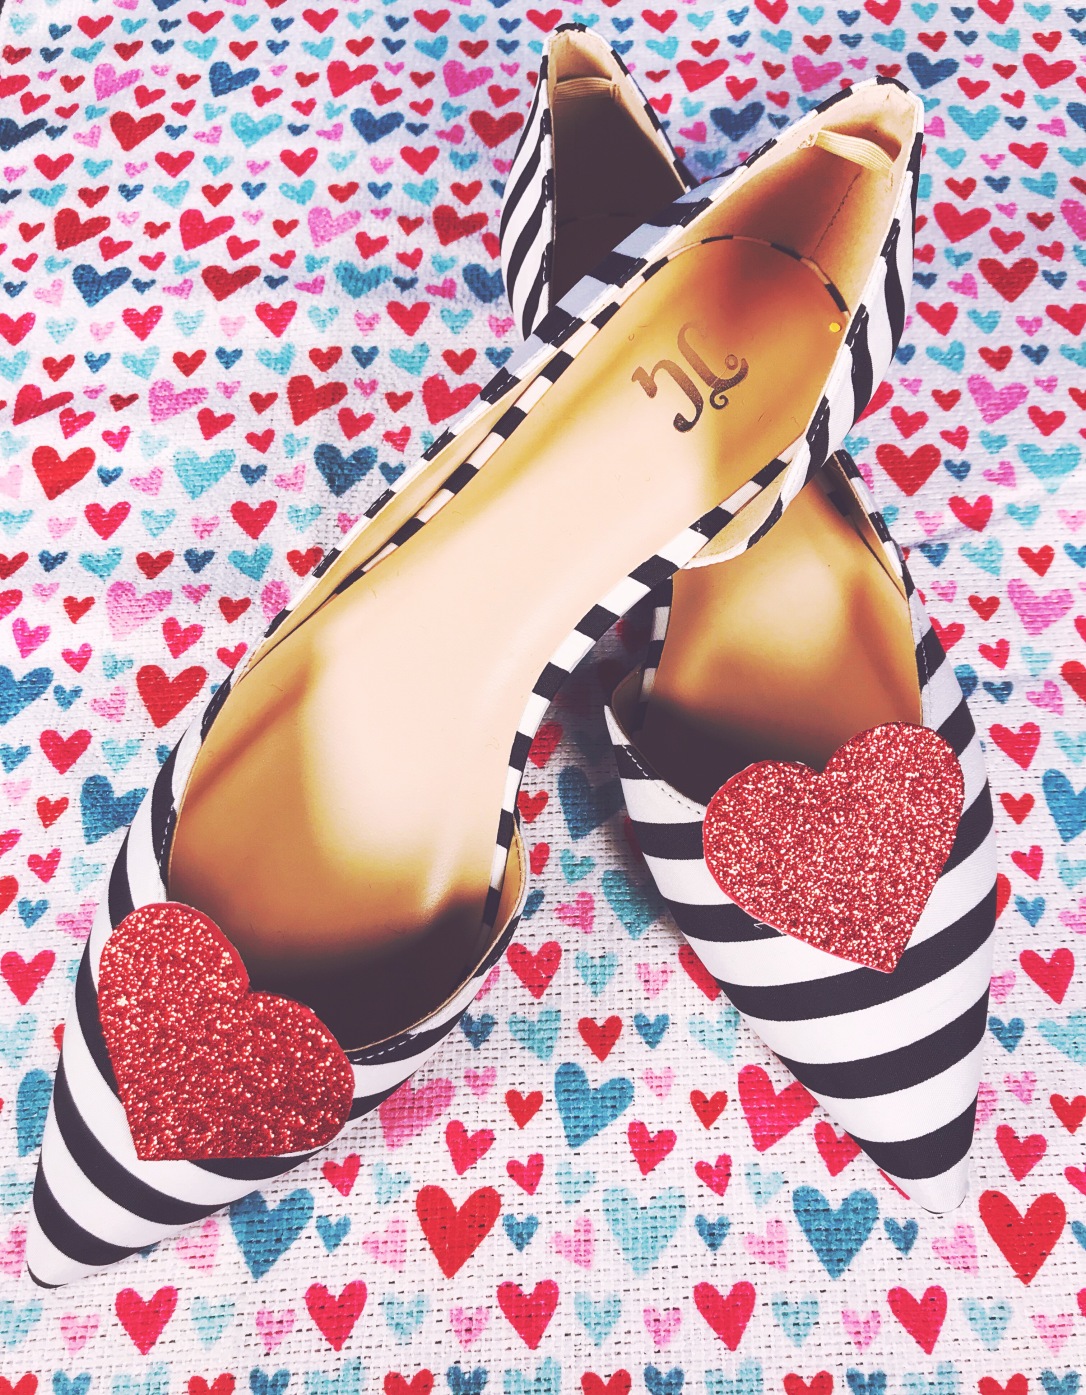
One shining spot of winter is the sparkling decorations that come with Valentine’s Day. I’m a sucker for anything in a red/pink combo and glitter everything! I’m not one to fuss much about the actual expectations of the holiday, but I love decorating and dressing up for it! When I saw the Valentine’s collection from Kate Spade, I fell in LOVE with their Kade Flats, but knew they were not in my budget. I decided they looked easy enough to replicate, and I got to work!


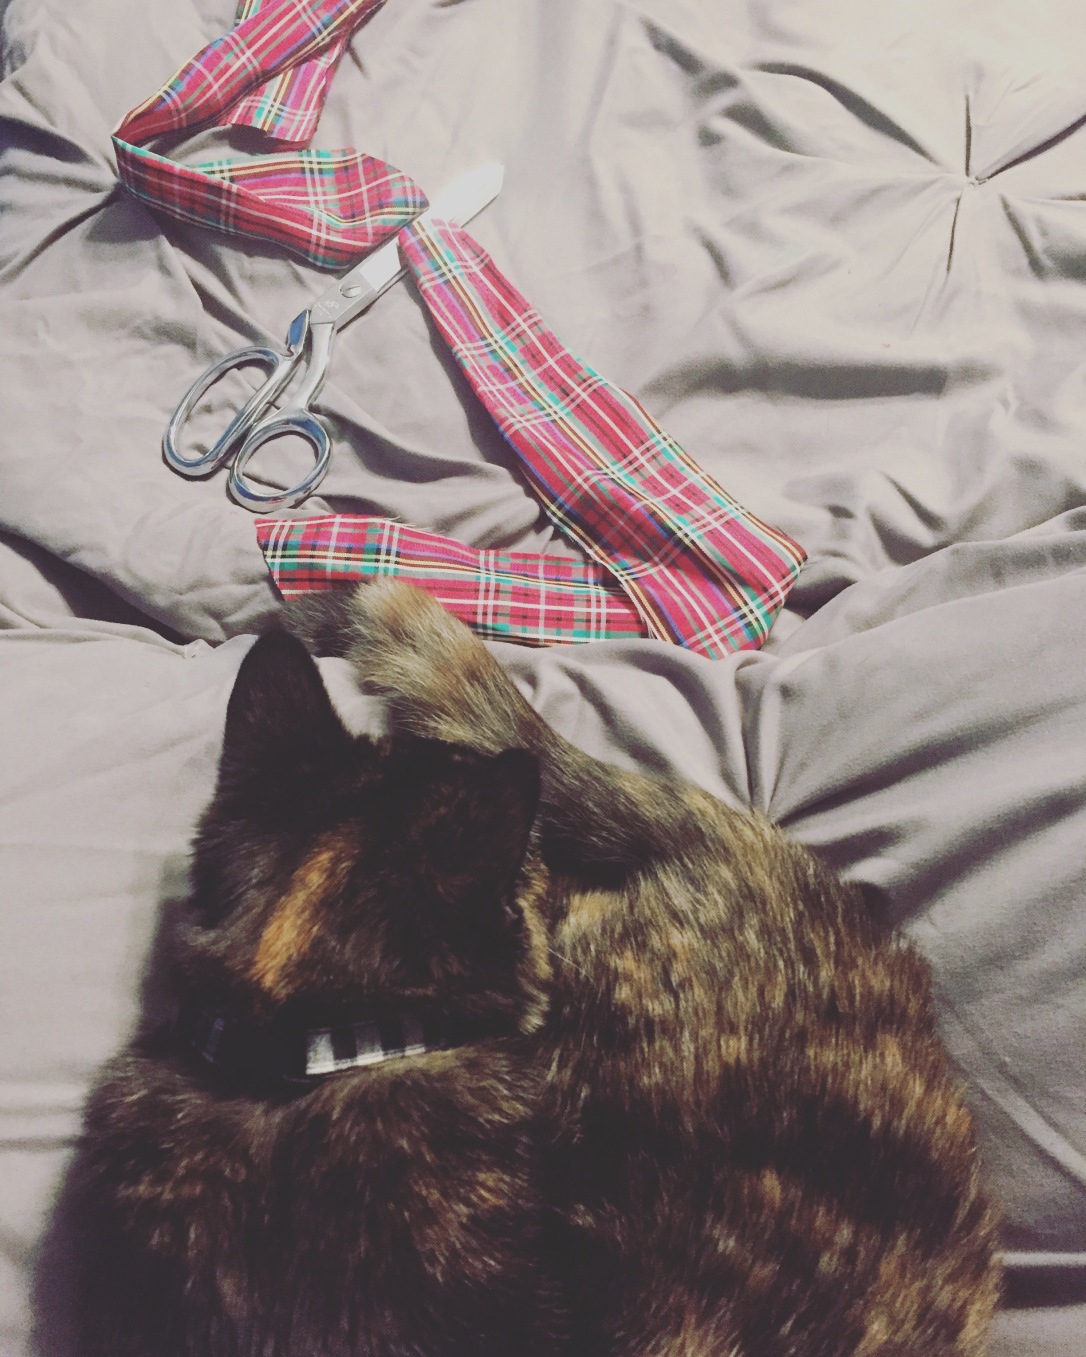
This project was under $30 and the best part is, these hearts are shoe clips! I can switch out with a different pair of clips on these great striped flats, or keep them unadorned. Check out the easy instructions below on how to make your own Valentine Heart Flats.
SUPPLIES:
- Striped Flats (Bought mine here)
- Glitter Foam
- Felt
- Shoe Clips or Clip on Earrings (found at your local craft or jewelry making stores)
- Printer OR Cutting Machine like Silhouette/Cricut
- Sheet of copy paper
- Pen
- Scissors
- Fabric Scissors
- Hot Glue
- Super Glue
INSTRUCTIONS:
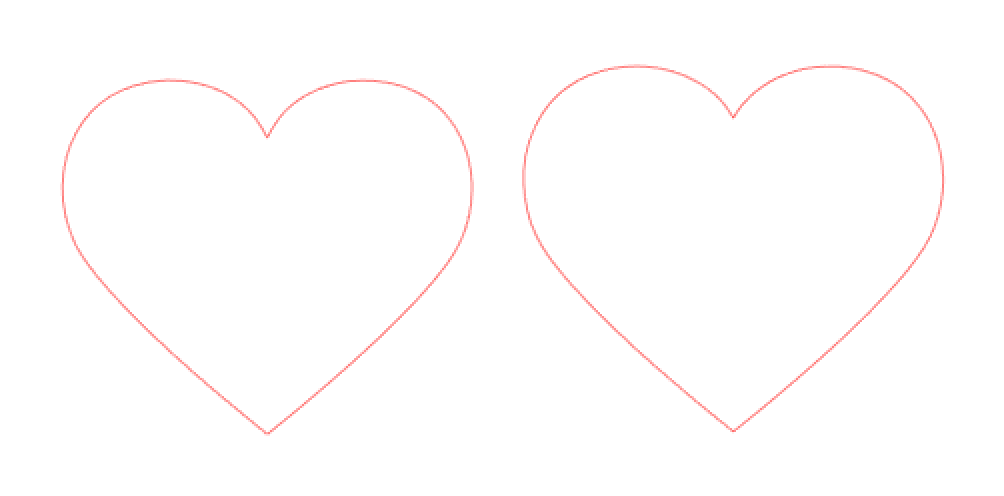
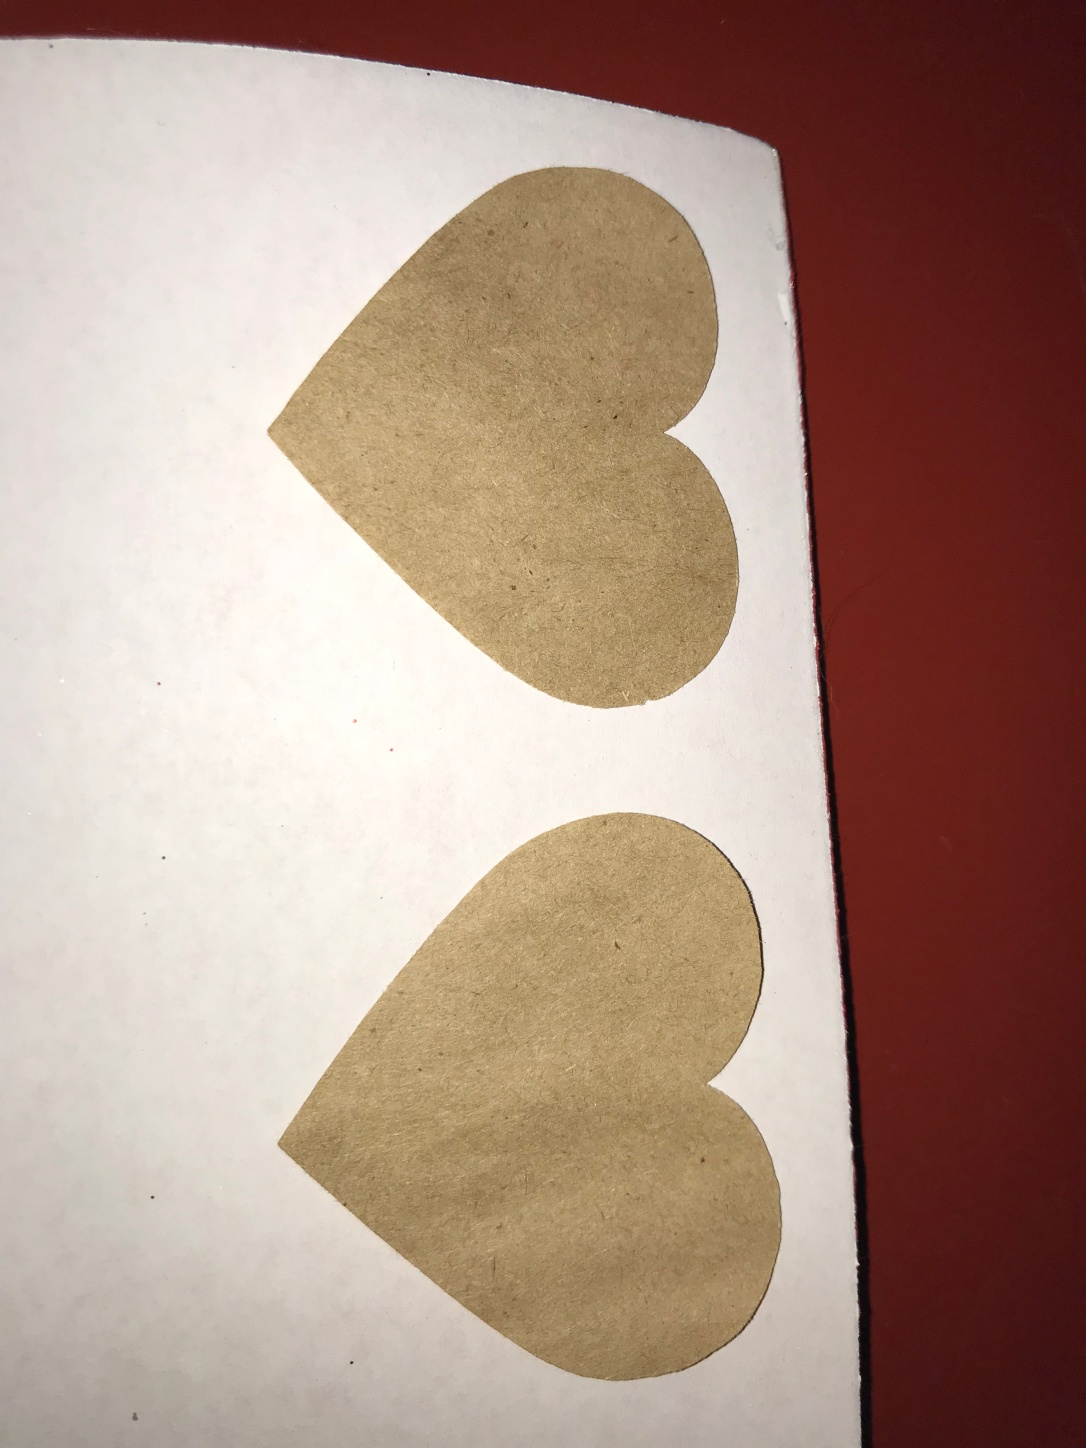
- Using the heart graphic above, either cut the design with your cutting machine or print the design on your sheet of copy paper. This will be the template to trace your hearts onto the foam. I did 2″ width hearts, but feel free to make them bigger or smaller depending on your desired look. If you print the hearts, cut them out.
- Using your cut out hearts, trace the design onto the non-glitter side of your foam. Once traced on to the foam, cut them out.
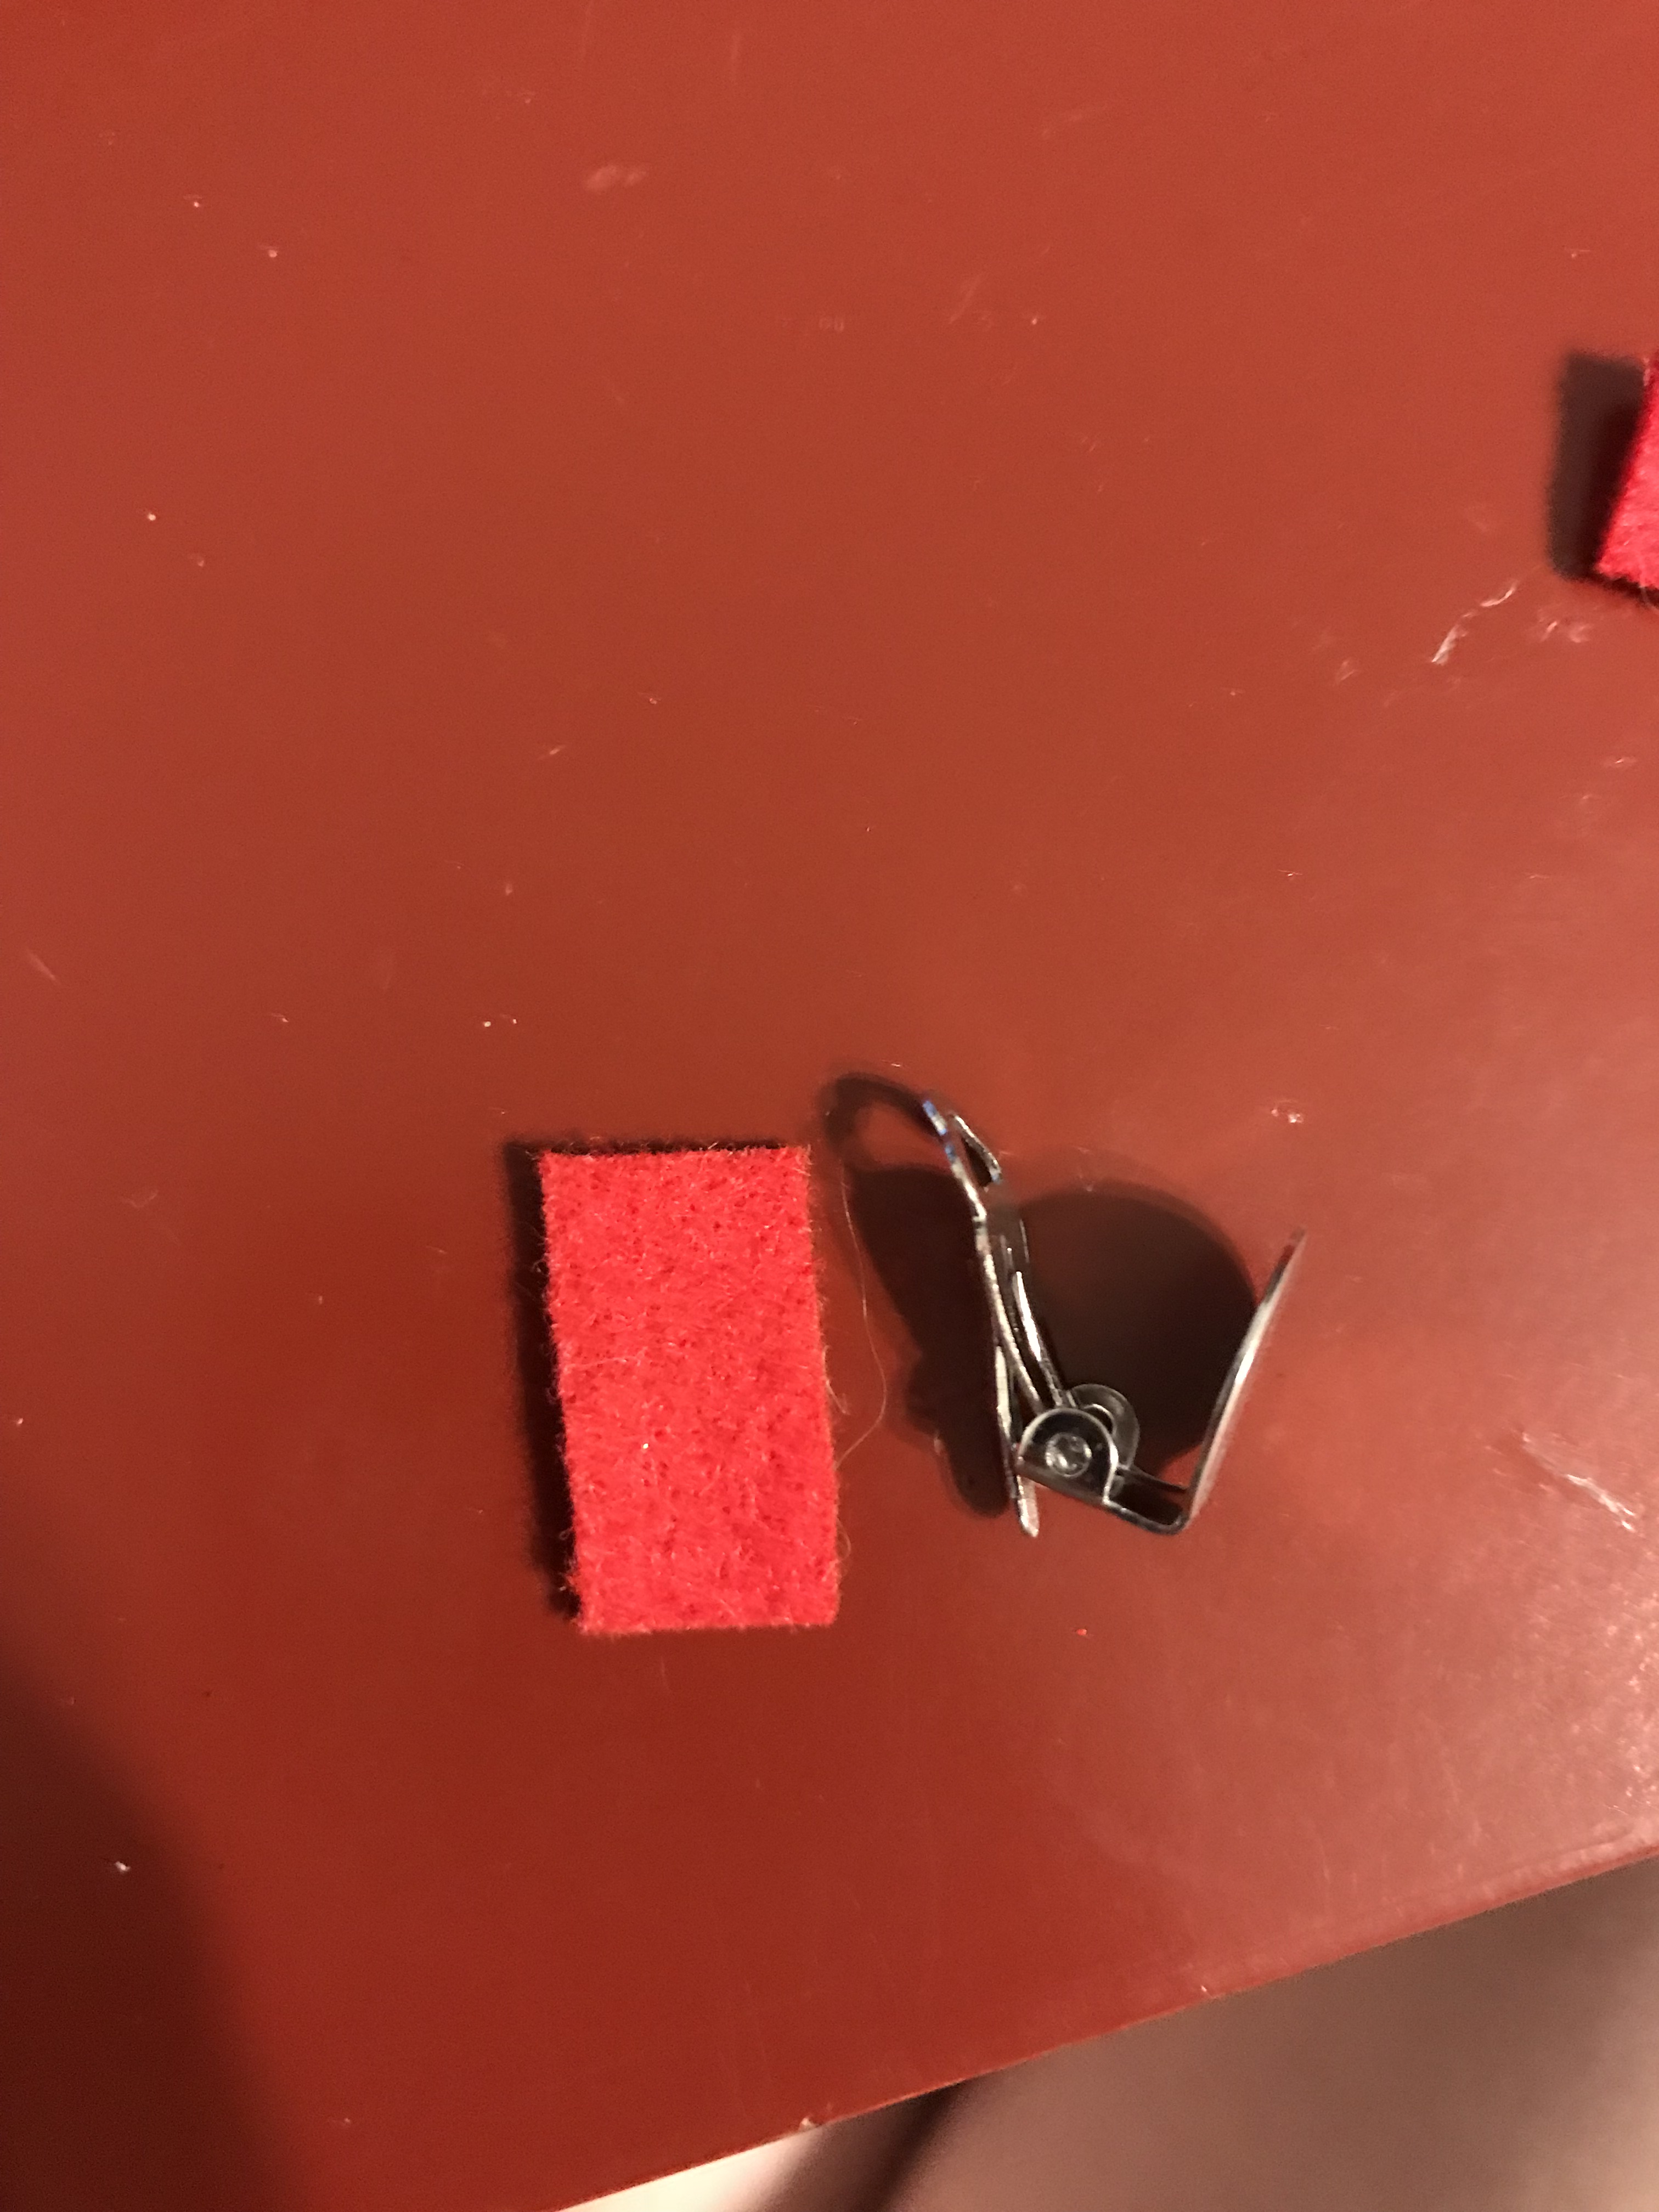
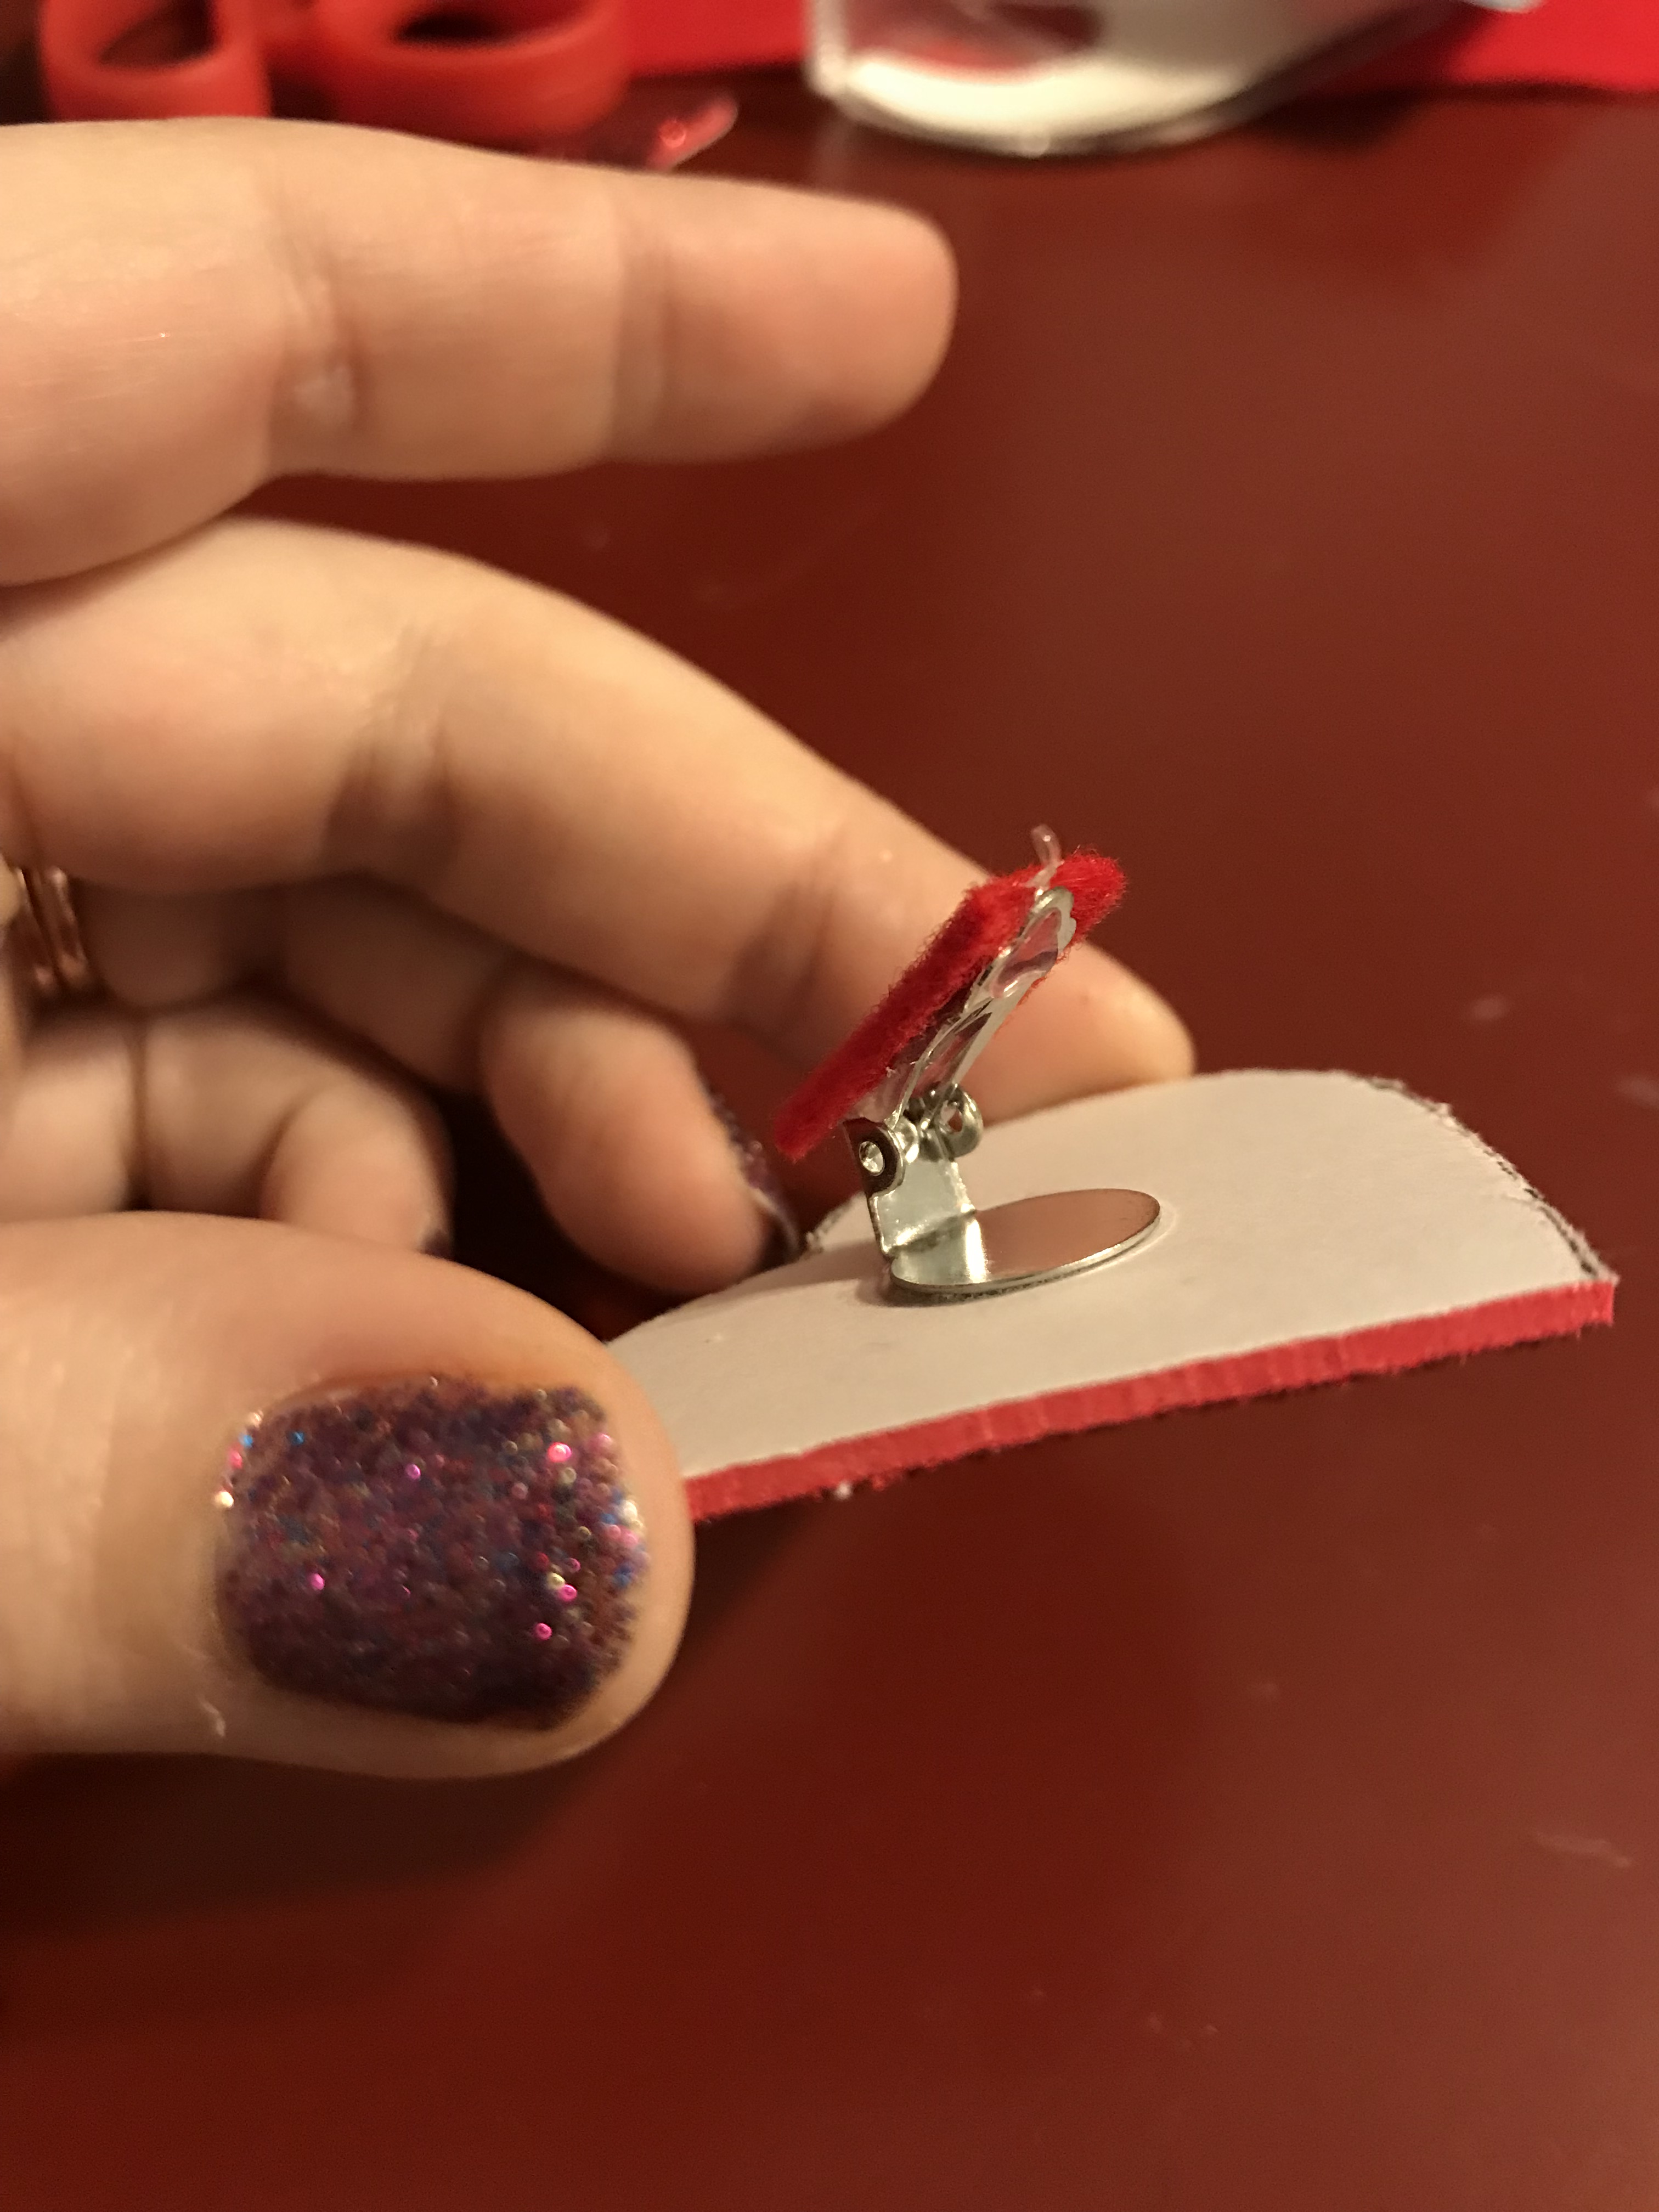
- Cut two small pieces of felt with your fabric scissors to cover the back of the clip on earring or shoe clip. This step is to help curb irritation from the metal clip on your skin by covering it with felt. Hot glue the felt pieces to the back of the clips.
- Find the placement you want the clips to be on the back of the foam hearts and super glue. You want to make sure the clips are far enough down the heart that they will not be seen when the heart is flipped right side up.
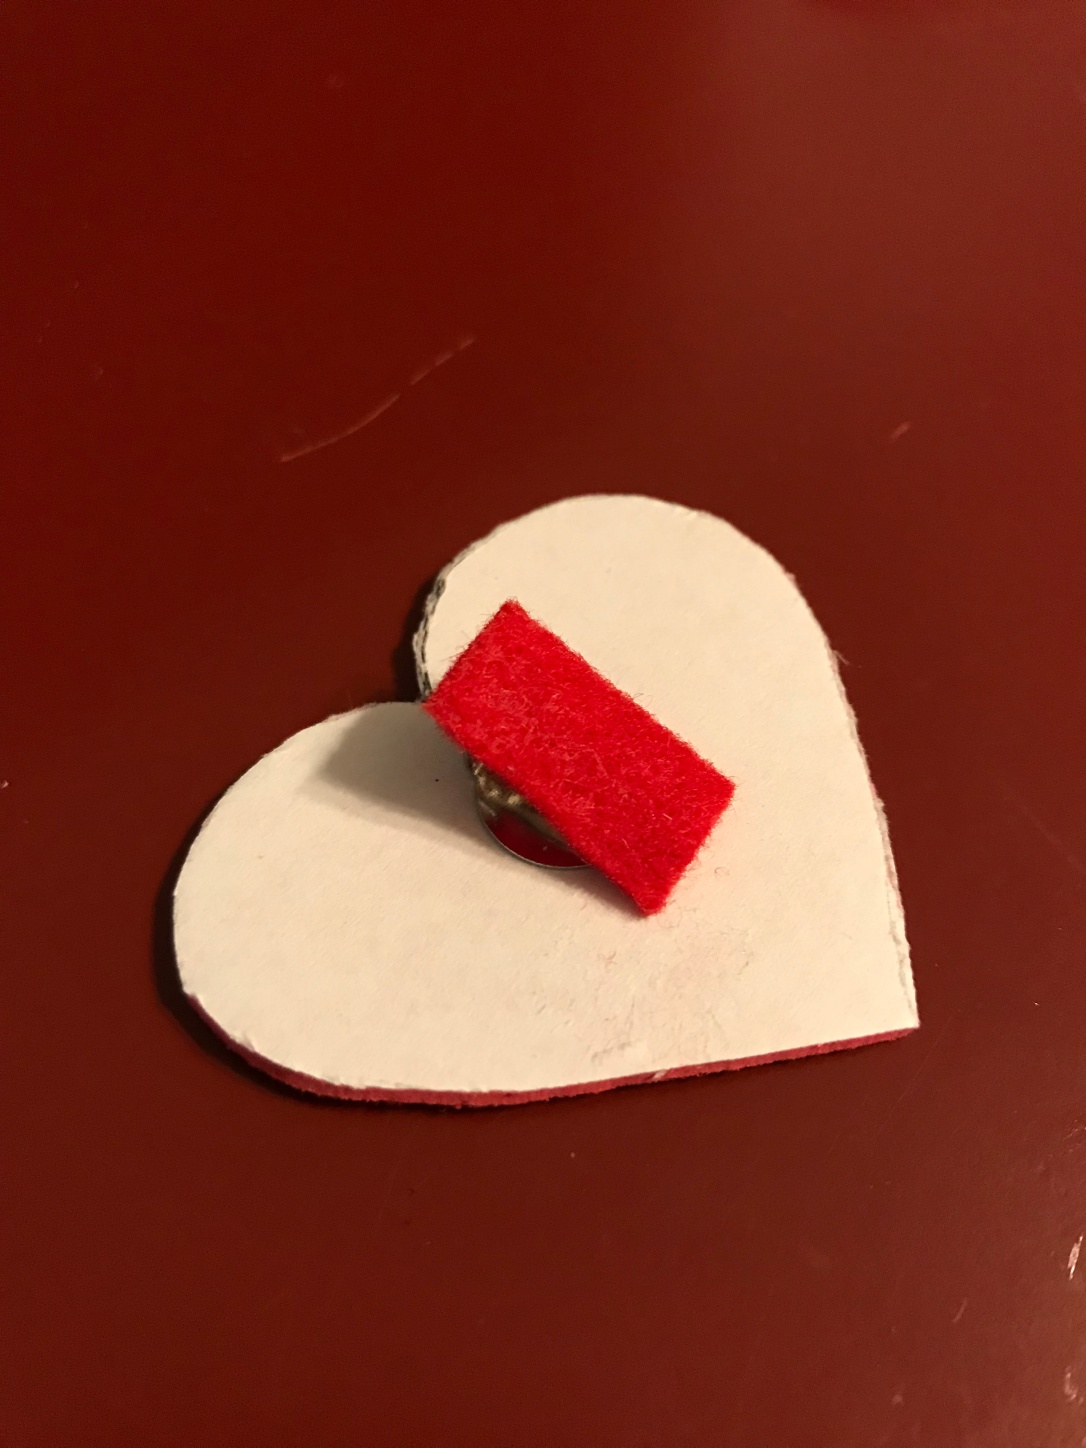
- Let dry for a few minutes, and then your heart shoe clips are ready to be worn on your flats!